
How to Setup your Guitar
I believe that every musician should be able to do a full “setup” on their own instrument. However, if you’re not comfortable or don’t have the proper tools, I can help.
What’s involved? Will it really make your guitar play better? And is it possible to do it yourself, or should you leave it to a pro?
A setup is actually a series of procedures, many of which fall under the categories of “basic maintenance” and “fine adjustment.” Much like a car’s seasonal tune-up, a setup should be performed to address the changes a guitar undergoes over time, with adjustments made to the instrument in order to match your preference of strings, pickups and playing habits. A setup can also reveal potential problems before they become major headaches.
These are the steps that I will perform doing a complete setup once the guitar is brought up to pitch.
1. Adjust the Truss Rod for Proper Neck Relief
Virtually every acoustic and electric steel-string guitar built after the mid-Seventies has an adjustable truss rod, which runs the length of the neck and counteracts the tension of the strings to help keep the neck straight. Loosen it, and the strings pull the neck into a concave bow, resulting in more relief—i.e., the distance between the strings and the fretboard. Tighten it, and the neck bends backward—this is called back-bow—against the natural curve the string tension imparts, moving the strings closer to the fretboard. Neck relief varies depending on the style of playing and the type of playing. I usually adjust to around .006” at the 6th fret on acoustic guitars, .008” at the 8th fret on electric guitars and .014” at the 8th fret for bass guitars.
2. Adjust the Bridge Height
A guitar’s action should be adjusted at the bridge, not the truss rod. On an electric guitar, this is a matter of twisting the appropriate screws; on an acoustic guitar, you may have to shim or sand the bridge saddle.
Depending on the playing style of the player, the type of instrument and the fretboard radius, these are the measurements I’m aiming for. On an acoustic steel string guitar the high E - 5/64”, low E - 6/64”. On an electric guitar high E - 2/32” and low E 3/32”. However, every player style is different and requires their own unique setup.
The key is to not have any fret buzz up and down the neck as the guitar is played.
3. Check the Nut Height
With the truss rod and bridge fine-tuned, we enter the final phase of action altering. Although these days, the vast majority of nuts are well made, even some expensive production guitars can slip through the cracks with nut slots cut a bit too high or too low.
If any open string buzzes, its string slot is low and the nut must be shimmed up or replaced. Of course, this means the other slots must be deepened to compensate for the higher nut.
All nut slots get lubricated with graphite powder to help prevent string binding.
4. Check the Electronics
Do your switches snap, crackle or pop? Does it sound like someone’s frying bacon every time you do a volume swell? A good setup includes checking a guitar’s electronics. For amplified acoustics as well as electrics with active pickups, this means a battery check (and, if necessary, replacement). Also, all the nuts and screws that anchor the guitar’s electronics should be tightened. I use De-Oxit Cleaner to clean and lubricate all pots and switches. If the cleaner doesn’t eliminate the excess noise, then it’s time to replace that component. Finally, I tighten and clean the output jack.
5. Change the Strings
All of the adjustments discussed so far are done prior to changing strings. The only time you would adjust the truss rod, bridge height and nut slots with new strings on your guitar would be when changing to a different gauge. Once the strings are changed, I stretch each one to tighten the post wraps. This will help the strings stay in tune longer. A new set of strings will also make your guitar sound better as well.
6. Check the Tuning Machine Hardware
All tuners are checked, screws tightened, tension adjusted and gears lubricated. I typically do 2 1/2 string wraps on the tuner post.
7. Clean and Check Frets
All frets are checked for level and cleaned. Any high spots or divots are leveled and crowned. Sharp edges are filed away. All setups include up to 20 minutes of fret work. However, for the lowest action possible, your guitar may require a complete fret level and crown. That is above and beyond a routine setup and requires a different procedure.
8. Clean and Oil the Fretboard
Just like polishing the frets, the fretboard is also cleaned with Naphtha followed by a small application of Lemon Oil to moisturize the wood. Lemon Oil is also applied to an unfinished acoustic guitar bridge.
9. Inspect for Structural Problems
Just as string tension can hide loose tuning gears, it can hide loose joints and cracks. Bolt-neck electrics occasionally suffer from lose neck-joint screws, and braces within an acoustic guitar sometimes break or come unglued. All guitars are inspected for potential structural problems.
10. Adjust the Pickup Height
Pickup height is adjusted for balanced output.
11. Set the Intonation
Intonation is adjusted for proper pitch up and down the fretboard.
12. Tremelo Adjustment
All tremolos, Fender Strat style, Floyd Rose, etc are adjusted for proper tension and all metal contact points are lubricated.
13. Clean and Polish
The finishing touch! A cleaned and polish guitar just begs to be picked up and played, and that’s what it’s all about.
14. Warranty
All setups performed by Keeley Guitars comes with a 90-day warranty. If a buzz develops or the truss rod needs a fine adjustment, I’ll do that for free. Each setup comes with a warranty card.
If you’re comfortable doing a setup yourself, then GREAT! If you need help and would like to have me do a setup, then please give me a call to schedule an appointment (509) 738-6491.
Thanks!
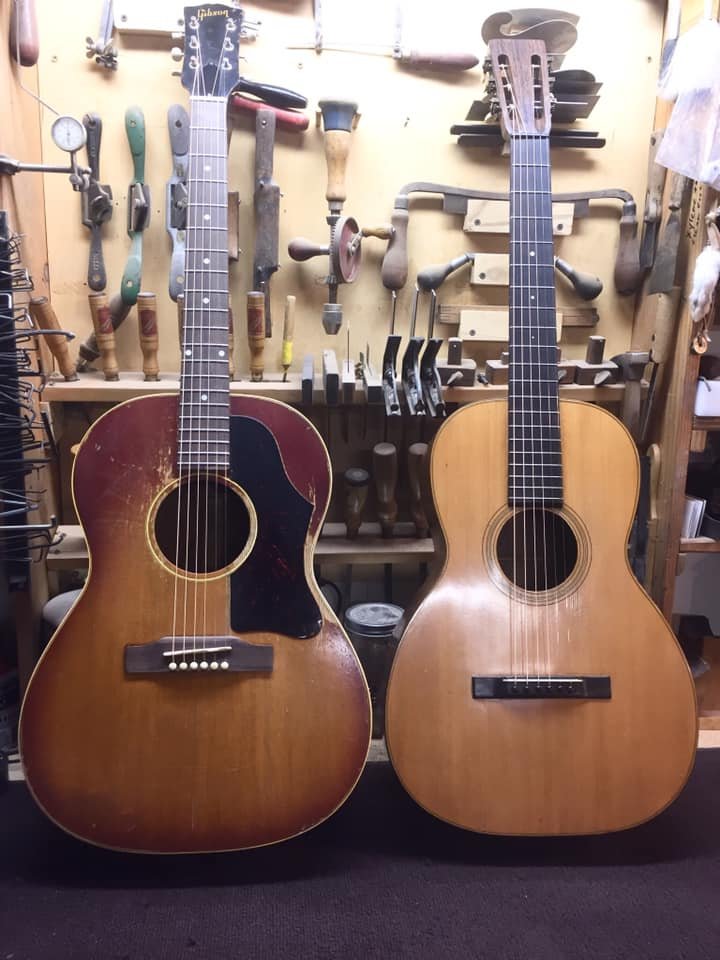
Photo: 1959 Gibson LG-1 and a 1925 Martin 0-18.